How To Make A Coloring Book Shirt For Kids
How To Make A Coloring Book Shirt For Kids
I don’t know about you, but when it comes to finding awesome gifts for upcoming birthdays, i get a little anxious about finding the perfect gift. I’m always wondering if I picked the right thing, and did someone else pick out the same gift that I did. Lucky for me, I have a silhouette machine so I can make custom gifts that I know no one else has for any birthday! With that in mind I wanted to show you something awesome (in my humble opinion) that I made for my daughter that I thought would make a great birthday gift. So I’m going to show you how to make a coloring book shirt for kids. Yes, this is a shirt that you can make that someone can color in themselves. How awesome is that!? Let’s get started….
Here is how to make this Coloring Book Shirt for Kids:
You Will Need:
- A Silhouette Cutting Machine
- A computer
- Black HTV (I personally used and LOVE Siser products and I highly recommend them for any HTV Project.
- White shirt (cotton works best!)
- Iron
- Fabric Markers
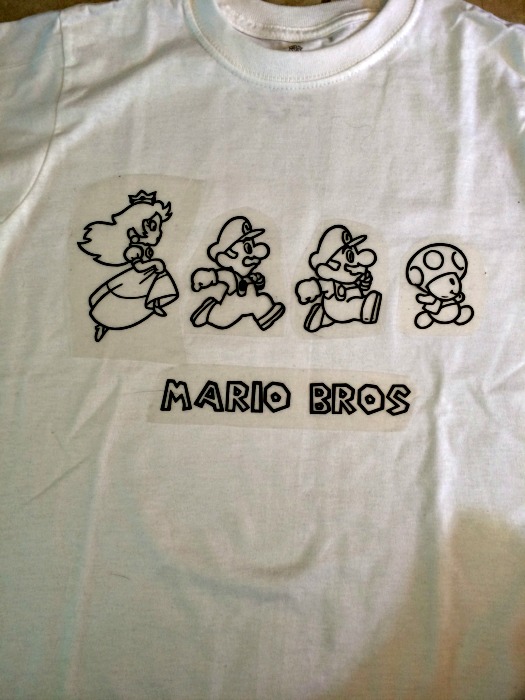
Step 1: First you will need to pick your design. What I did was headed over to google and searched for Mario Coloring pages. I found the one above and opened it in the Silhouette program. Once in the program I traced the image. When working with HTV you want to make sure you flip the image so it cuts backwards. This is so when you place it on a shirt it will be the right side up. (Note- when making anything with a licensed character like mario, disney, or anything else, you can NOT sell them for profit. Only make them as gifts.) Then you will weed your design (meaning, take out the unneeded bits of vinyl) and place the images where you want them on your design.
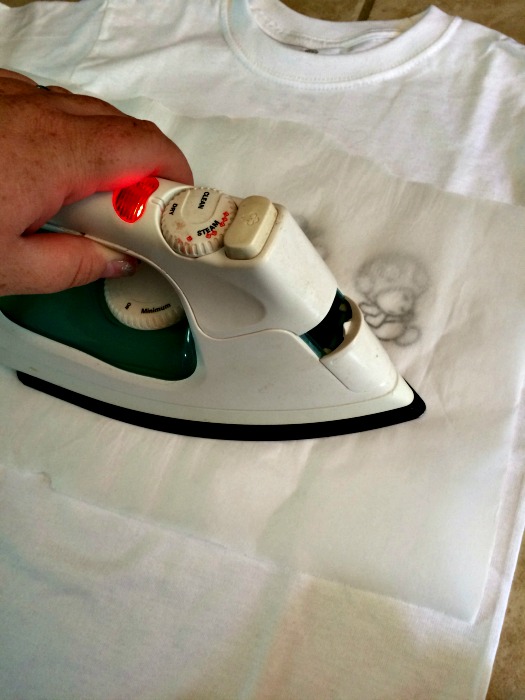
Step 2: Now it’s time to iron on your design! You will want to make sure you have your iron on the hottest setting and do not use ANY steam. You will also want to make sure you either have a Teflon sheet, a piece of fabric, or a piece of freezer paper (like I used above) to keep from scorching your design or shirt. You will press your design until it is sealed on to the shirt.
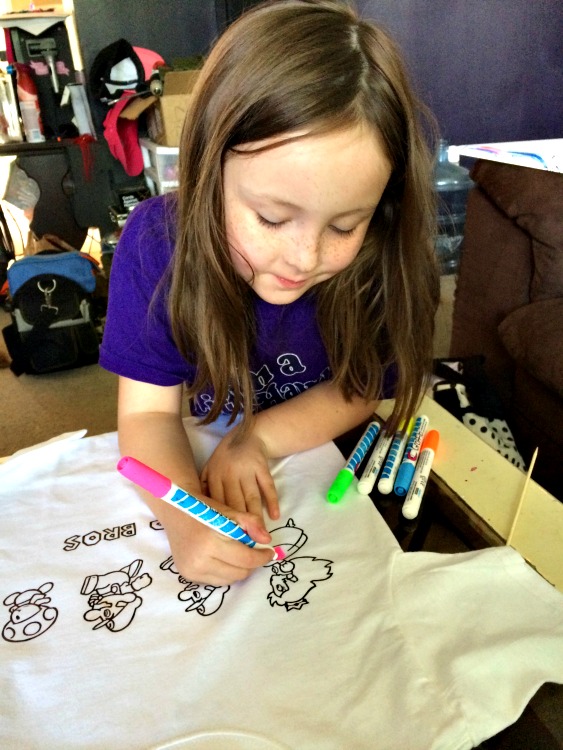
Step 3: Now you can either wrap it up with a pack of fabric markers and give it as an awesome gift, or you can color it in yourself (or let your kids) and have a one of a kind shirt for yourself. My daughter was SO excited to color in her shirt and had a blast doing it.
That’s it! How cool is that right!? Now you have a custom shirt that you not only designed yourself, but that can be colored in any way you want it to be! My daughter loves her new shirt and I think it’s pretty awesome myself. Make sure you wash it inside out to preserve your design and enjoy!
Looking for more Fashion projects? Check these out:


September 6, 2015 @ 8:40 pm
this would be a great project for kids to make at a birthday party and take home.
March 24, 2017 @ 6:42 am
A great idea and we are going to give this a go! do you have any tips for holding the fabric/t-shirt still when you are coloring?