DIY Ghost Mirror Halloween Project
DIY Ghost Mirror Halloween Project

You guys, Halloween is almost here! I am SO excited! I am already sneaking a few decorations up here and there. Only a few at a time so my husband doesn’t get too mad at me haha! Now while I love my Halloween decorations, what I don’t love is having to spend tons of money on them. I don’t know what it is about holiday items being so expensive, but it drives me nuts. So rather than shelling out the money at the big box stores, I find out way’s I can make Halloween decorations at home! So this week I decided to try my hand at a DIY Creepy Ghost Mirror which was inspired by something I saw in the store for $30 that I wasn’t going to spend ha! This project cost me…$2 to make. Yes really! And the cool thing about it is that you can only see the “ghost” if you are standing right in front of it. If you stand beside it it just looks like a dusty old mirror. Keep on reading if you would like to learn how to make one of your own!
You Will Need:
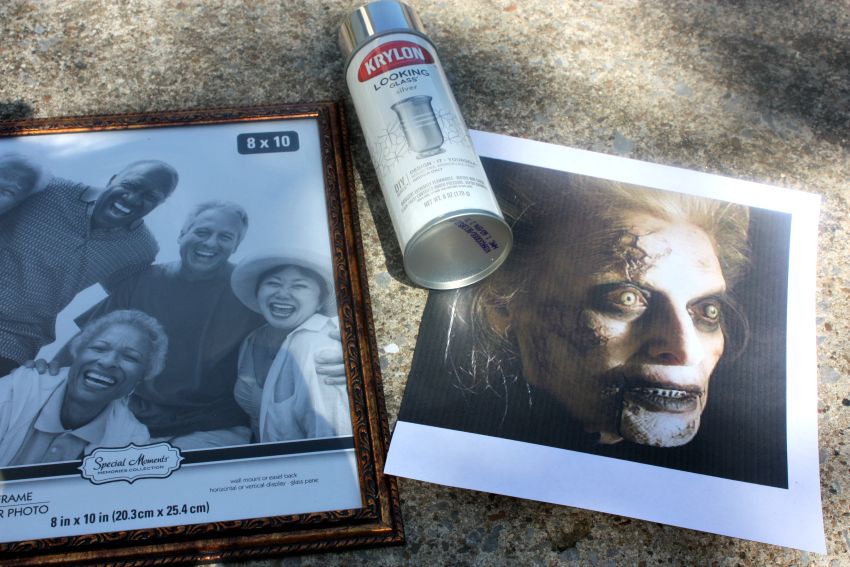
- A photo frame (I got mine from the dollar tree)
- Looking Glass Spray Paint (I found it at Walmart)
- A creepy picture (I literally googled “creepy face” and picked one from there ha!)
- Toothbrush
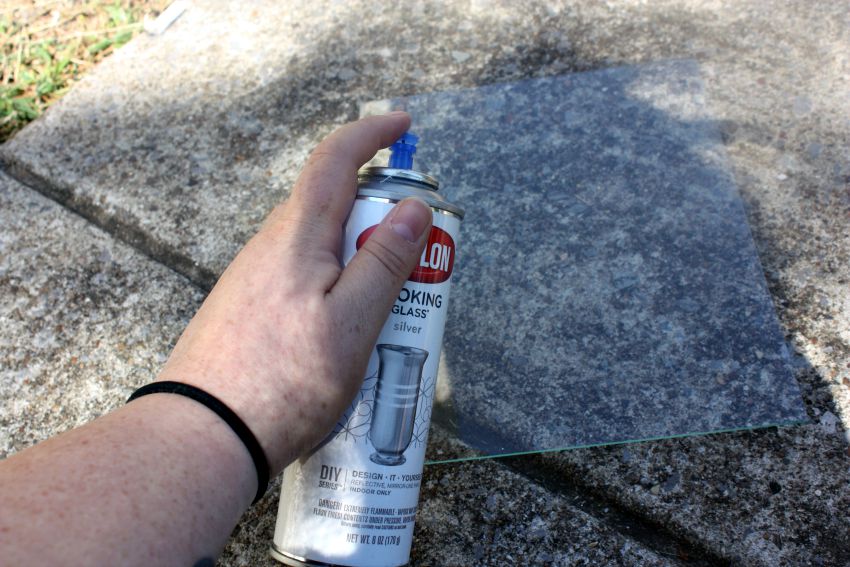
Step 1: You are going to want to take the glass portion of your photo frame out. Make sure it’s clean! I would highly recommend doing this part of the project outside for obvious reasons. Spray paint is no good for the lungs. Follow the instructions listed on the can for applying the looking glass paint. Make sure you make swishing motions to achieve the “ghost” like image :).

Step 2: Make sure you let it dry completely! Side note, it looks really cool when it’s drying, which is why I took the photo above to show you lol.
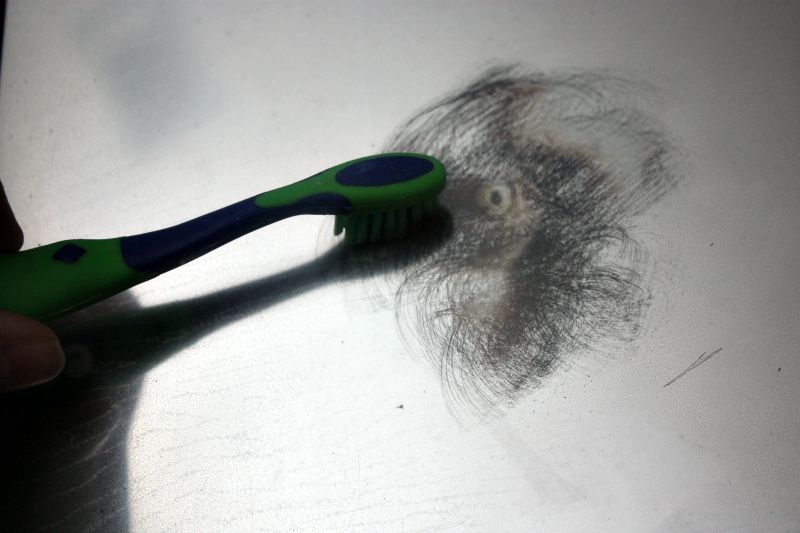
Step 3: After your paint is dry, reassemble your picture frame and insert your creepy picture. Now, you can decide if you want the “Ghost” to take up the whole frame, or just a portion of it like mine. Once you have your “ghost” in position take your toothbrush and gently begin to brush away some of the paint to reveal the “ghost” underneath.
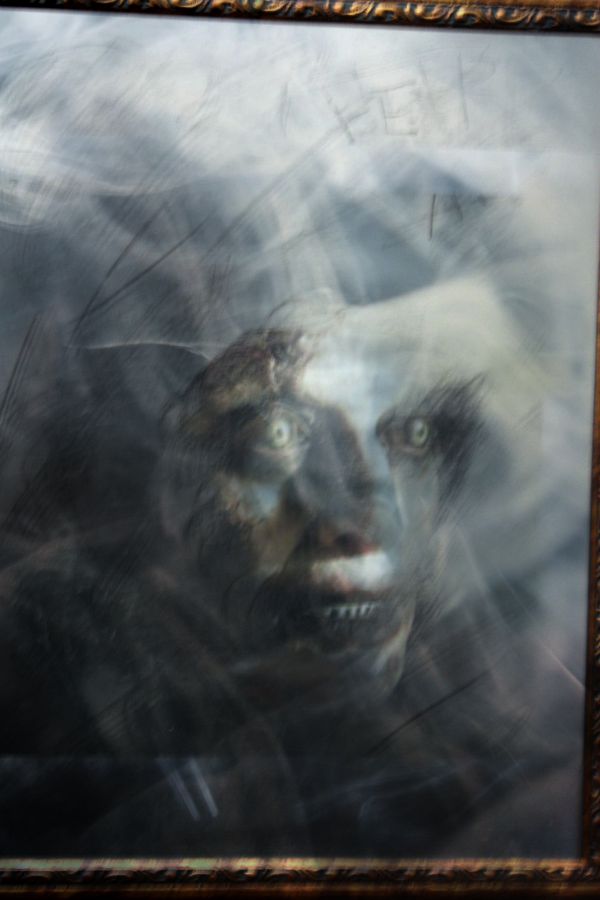
Step 4: Use a sweeping motion with your toothbrush to create the old vibe of the mirror, hang it up and you are done. Isn’t it cool looking!? I told you it was going to be easy to create too.
You will want to make sure you keep this inside so it doesn’t warp in the sunlight. I hope you enjoy!
Looking for more Halloween ideas? Check these out:


September 21, 2015 @ 12:24 pm
this is totally cool and creepy I love it
September 21, 2015 @ 1:05 pm
Very creepy. Perfect for halloween party decor. I think it might scare the heck out of my neighbors
September 21, 2015 @ 8:46 pm
Creepy but very cool ghost print
September 21, 2015 @ 9:24 pm
This is such a cool project! It would look great in a haunted house.
Easy DIY Halloween Tutu
September 22, 2015 @ 3:10 pm
[…] DIY Ghost Mirror […]