DIY Monogrammed Hair Bows With Your Silhouette Cameo
DIY Monogrammed Hair Bows With Your Silhouette Cameo
Recently, I got the chance to check out some wonderful Heat Transfer Vinyl from Siser and I have been itching to try it out. My Silhouette cutting machine is one of my very favorite crafting tools and I have just started venturing into making custom apparel and accessories with it. If there is one thing that I have learned when it comes to using HTV, it’s that quality is key. If you have great products, your job will be easier. That is why I was thrilled to get the chance to check out some of the best selling HTV from Siser! Over the next few weeks I’m going to be sharing some of the projects I have done using the different types of HTV from Siser!
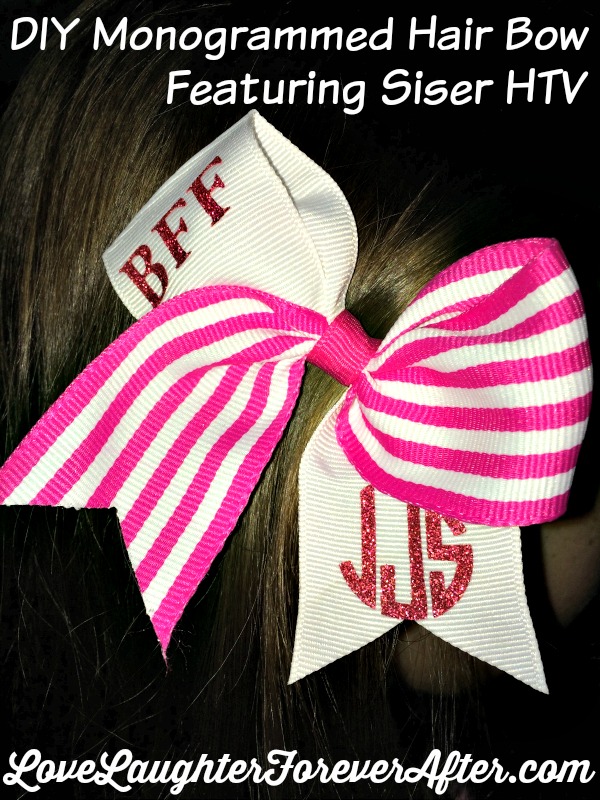
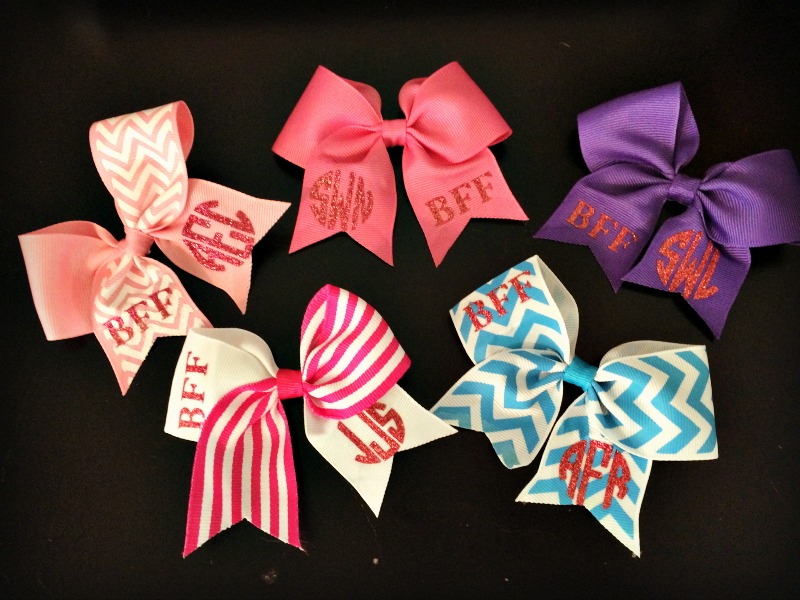
Today and I wanted to share with you a super cute gift idea that I made for the members of my daughters dance team for their recital that was over the weekend. These DIY Monogrammed Hair Bows are easy to make and the bow lover in your life will be super excited to have. Let’s check out how easy they are to make:
Here is how to make these DIY Monogrammed Hair Bows:
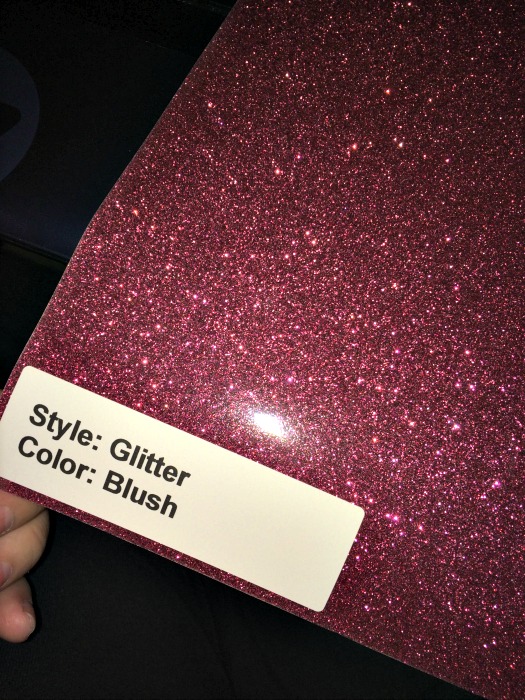
First, you will need to gather your materials. For this project you will need some Glitter HTV from Siser, your silhouette machine, a heat source (iron, heat press, hair iron), and some bows! I knew I had to use this blush colored glitter HTV from Siser for these bows. It was beautiful!
Next, You will need to design your monogram in the silhouette studio. (Don’t forget to mirror your design before cutting it!)What I did was use the Monogram It! App and traced it in the silhouette studio. Once you have your designs set up and made, it’s time to cut it out! I have found the best settings for glitter HTV is your Blade at 4, Speed at 4, and Thickness at 18. It weeds like butter, I promise.
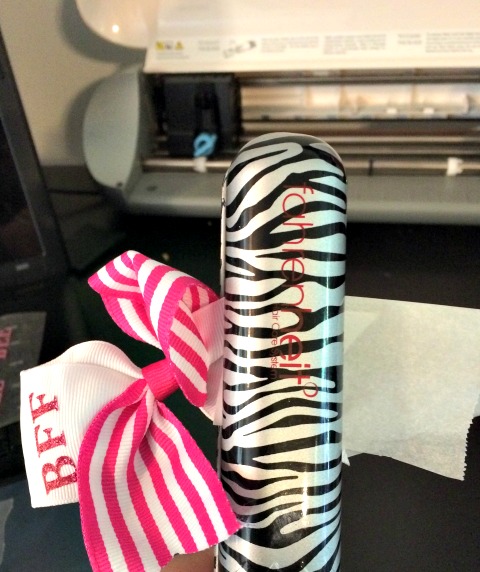
After weeding your designs it’s time to cut them out and place them where you want them on the bow. Now, rather than breaking out my iron I decided it would be easier to grab my hair iron and use it. I pressed for about 10 seconds and it worked like a charm!
That’s it! How easy right!? This was my first time using the glitter HTV by Siser and I am in LOVE. I don’t think I could ever use another brand with such ease. The girls loved their gift, and I became one of “those” moms. (You know, the crafty ones that always have awesome personalized everything? Yep, I’m totally ok with that!)
Make sure to check out all the great products and how to use them at Siser’s YouTube Channel!
What have you personalized lately?



June 10, 2015 @ 4:39 pm
So cute! I bet all the girls loved them!
June 10, 2015 @ 7:07 pm
What a neat idea! I can’t wait to try it out! 🙂
June 11, 2015 @ 12:53 am
I love this! You make it look easy ????
July 28, 2015 @ 3:03 pm
I am trying to figured out what size are the letters supposed to be. How do I size my letters?
July 28, 2015 @ 5:06 pm
That would depend on the size of your bow. Measure your space and then scale your letters in the silhouette program 🙂