How To Make Alcohol Ink Tile Ornaments
How To Make Alcohol Ink Tile Ornaments
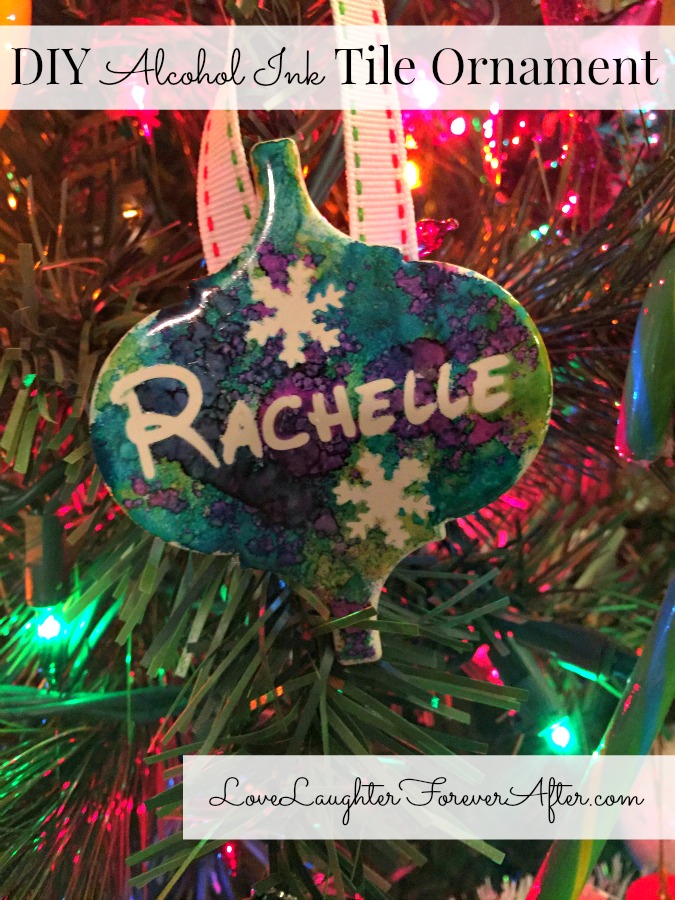
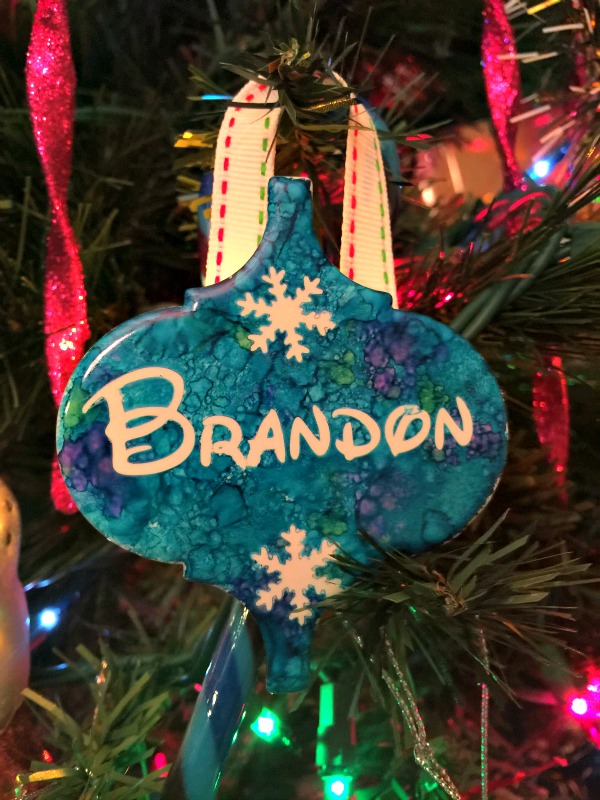
How to make Alcohol Ink Tile Ornaments- December is one of my favorite months of the year. I am that person that as soon as it hits December 1st I have my house fully decorated, it smells like pine everywhere I am, and presents are wrapped under the tree. One of my favorite holiday activities is crafting with my daughter! Any given day you can find us at my dining room table covered in glitter. It’s our happy place. So with that in mind I thought I would share with you a fun (and easy) craft for you to do with your family this holiday season. Would you like to learn how to make alcohol ink tile ornaments? They are SO cool looking. And they best part is, no two look exactly alike. You only need a few things to make this craft….
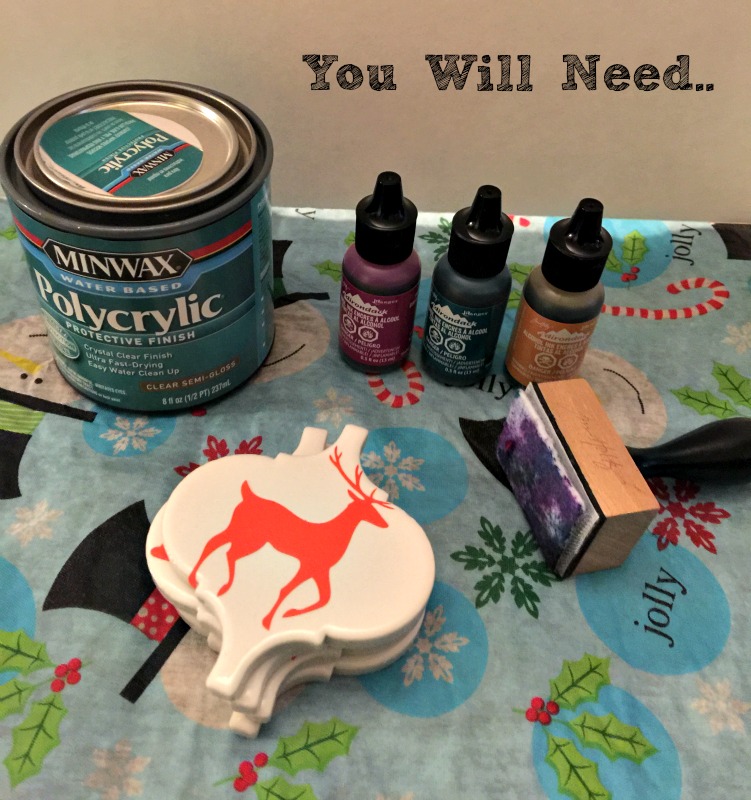 You Will Need:
- Tiles! (The one’s I used are from Lowes. In stores only, not online. They were held together by a netting back. Pretty cheap too!)
- Alcohol Inks
- Alcohol Ink Stamp
- Polyacrylic Topcoat (This is optional, but it does make your ornaments nice and shiny!)
- Hot Glue
- Ribbon
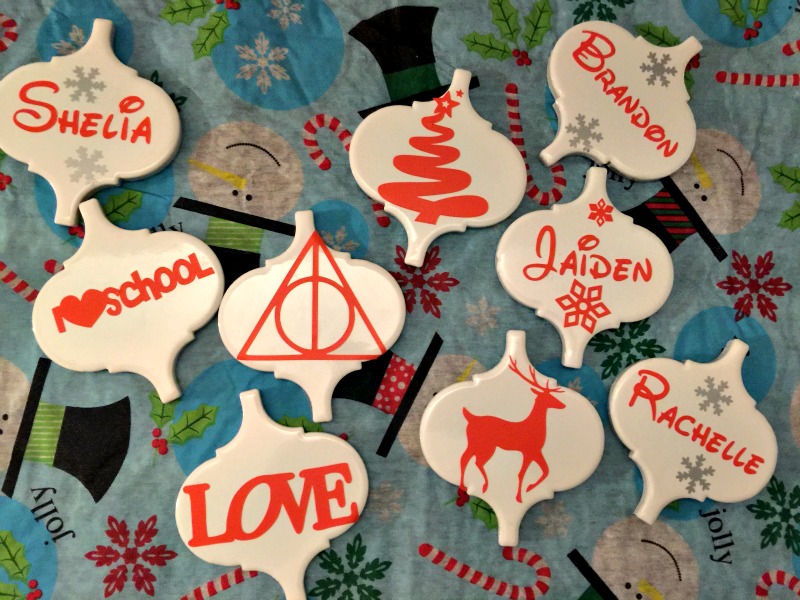
- Vinyl Stencils (You could also use stickers or anything with a seal)
Step 1: Pick out the themes for your ornaments. I have a vinyl cutting machine, and picked out some fun shapes to use for my ornaments. You could also use stickers, or anything with a sticky back. A paper stencil will NOT work because the ink will soak through it.
Step 2: It’s time to bust out your inks! You can choose to use as many colors as you want. But I have found that using more than 3 can make the colors muddy, and we don’t want that. You will let the ink drip out of the cap on on to your ornament. Do this with each color you want to use. (Side note, I would do this on a paper plate, or newspaper, something that will prevent staining)
Step 3: Take your ink stamper and pat over your colors. This is my favorite part because you get to see all the colors mix and meld together. If you don’t have a stamper, you could use a thick piece of felt and your finger to achieve the same effect. Keep patting until you have covered your surface, and you are happy with your color combos.
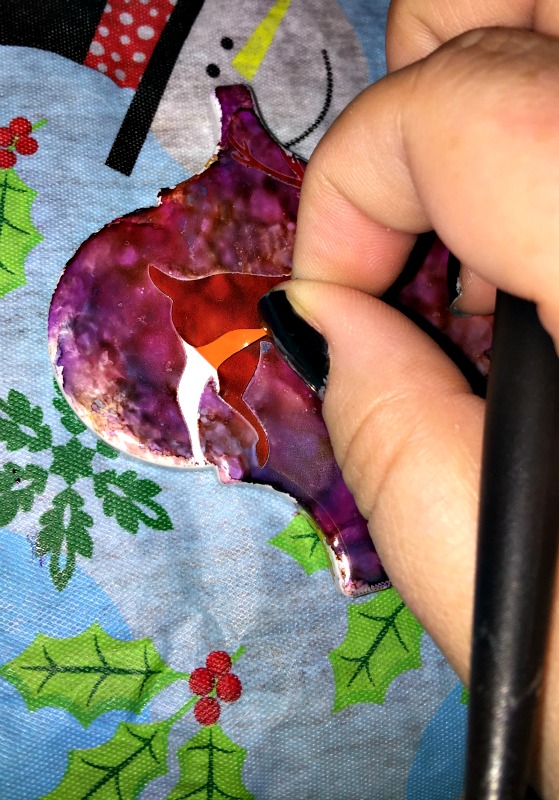
Step 4: Let your ornaments DRY! The great thing about alcohol inks is that they take no time at all to dry. About 20 minutes and you are good to go. You will carefully peel up your stencil and discard it. (Or save it for later!)
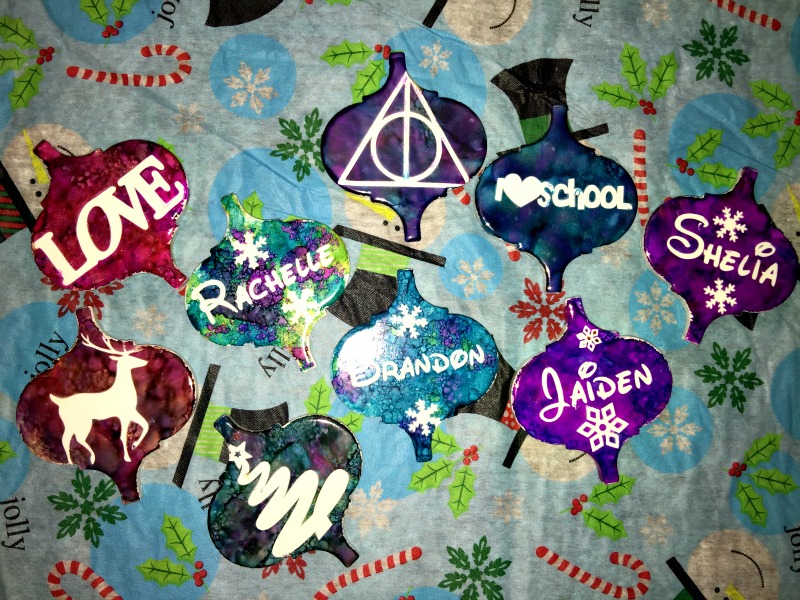
Step 5: once you have pulled up your stencil you should be left with a gorgeous white imprint on your ornaments around a colorful background. You will then brush a layer of your top coat over the ornaments and let dry overnight.
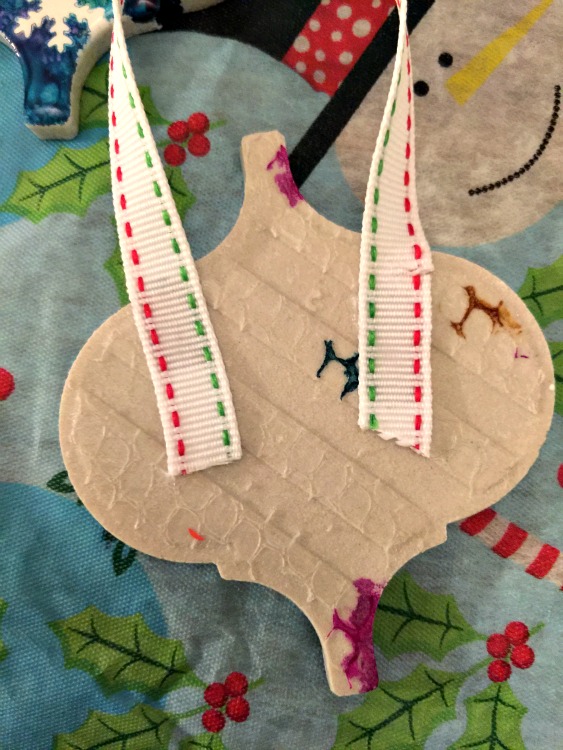 Step 6: Hot glue a piece of ribbon to the back of your ornament and let dry. This will be how you will be able to hang your ornaments!
That’s it! Hang and enjoy. I think these are such a fun craft to make with the family. It’s easy enough for the kids too. I made some extras and plan on handing them out to neighbots and friends. I hope you have a great holiday season!
Looking for more holiday fun? Check out these ideas:
Topic: Alcohol Ink Tile Ornaments
