How To Make Tissue Paper Flowers
How To Make Tissue Paper Flowers

Ya’ll….it’s hot outside. Like, 95 degrees with enough humidity to choke on kind of hot. So what’s a mom to do when she can’t let her kids play outside for too long? She crafts of course! I’m always down to break out the craft box and get a little creative on a hot summer day, how about you? And perfect timing too, we have a party to help set up next weekend, so we thought it would be fun to try our hand at making some homemade decorations. Making your own Tissue Paper Flowers is a lot easier than you might think, and they look adorable. You can make them as small or as big as you want them! Let’s check out how it’s done:
Here’s how to make your own Tissue Paper Flowers:
You Will Need:
- Tissue Paper! (Whatever colors you wish. You will also want to cut the tissue paper down to what size you will want your flower to be)
- Scissors
- String
Steps for creating your Tissue Paper Flowers:
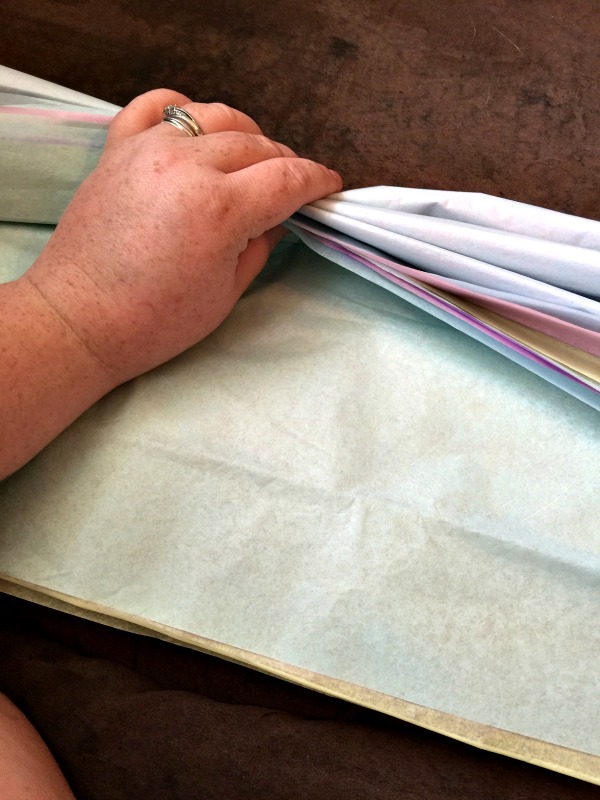
Step 1: After choosing the colors you would like to use, lay out your tissue paper flat. You will need about 10 sheets of tissue paper to make the flower nice and full.
Step 2: Begin at one end and fold your tissue paper accordion style back and forth until you have reached to the other side. Tie a string in the middle of your tissue paper.
Step 3: Cut a semi circle at the end of each side of your tissue paper.
 Step 4: Pull your tissue paper out (like a fan) on both sides.
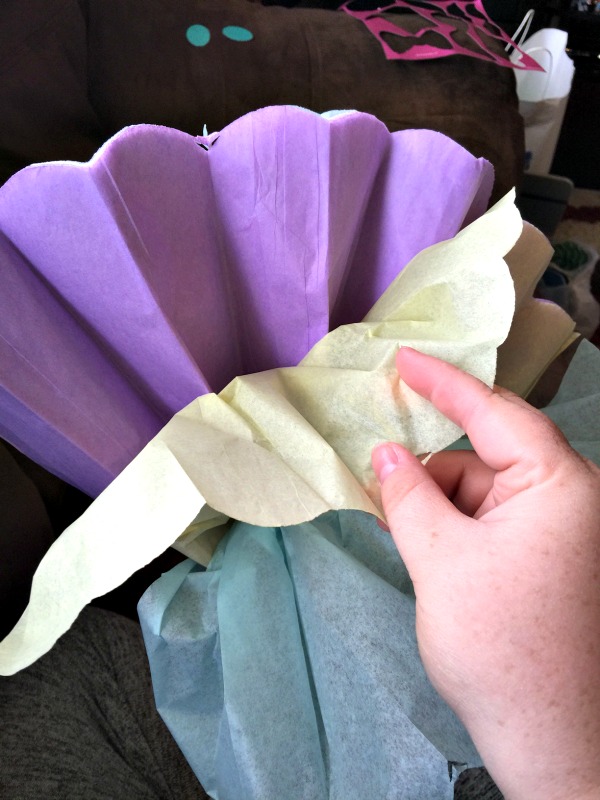
Step 5: After you have fanned out your tissue paper, begin peeling the layers back one at a time toward the center. You will do this for each side and you will quickly see your flower forming!
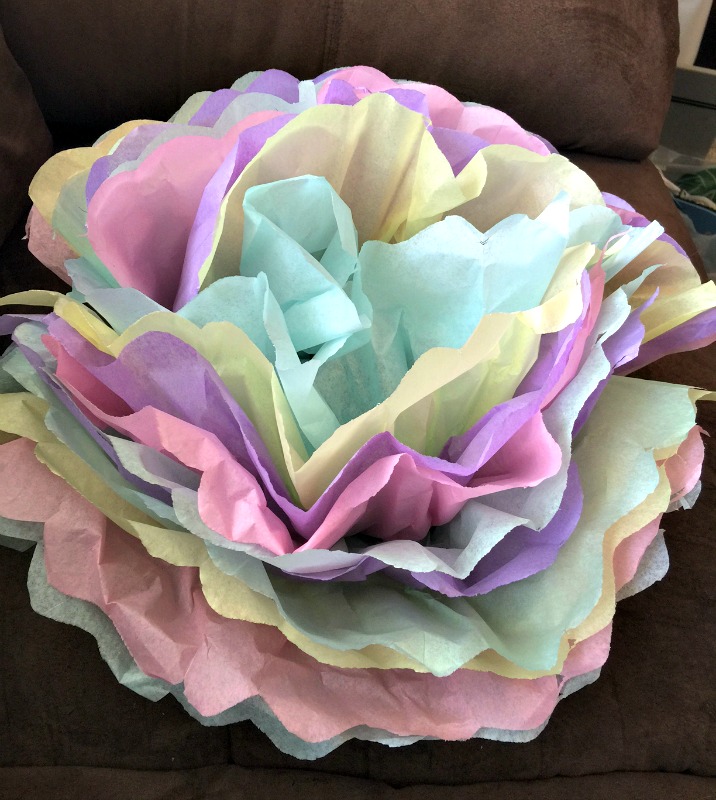
Step 6: Once you have all of your layers, you will see your flower has formed! You can shape the flower as you wish, and make sure to fold in some paper near the center so your string doesn’t show.
Step 7: This step is optional. If you would like to hang these from the ceiling or from trees, you can add another piece of string from the bottom to hang!
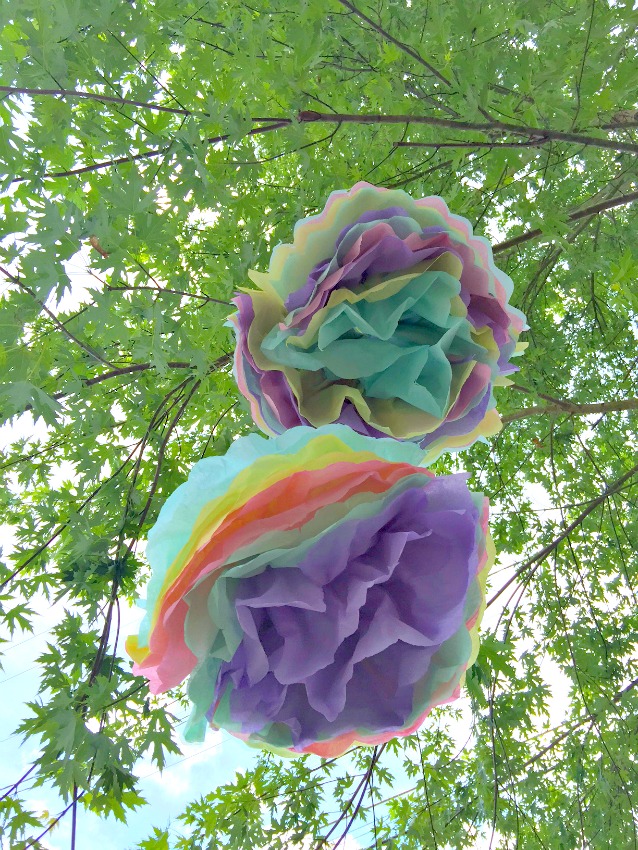
There you have it! Simple and really pretty tissue paper flowers to use anytime of the year. Enjoy!
Looking for more fun crafts? Check these out:

